
A nail shape can appear off-balance long before any color is applied. You might notice one side leaning in, the free edge dipping on one side, or the tip looking slightly askew when you straighten your hand. This typically occurs because your filing motion is guided by the dominant hand rather than the center of the nail plate. Before attempting to correct the shape further, take a moment to examine the raw nail from the front. You don’t want to take a huge amount of length off to “fix” the problem; you just want to understand what is currently uneven.
A good way to start out is to take one easy nail shape and practice it on multiple tips. Don’t try to switch up to square, then to oval, to almond all in the same practice period. If you’re practicing a soft square, ensure the free edge is generally straight, while just lightly rounding the corners. If you’re practicing an oval, keep the two side lines symmetrical, then round the edge. Practicing one shape will tell you whether your angle of filing is consistent or if the nail keeps getting shorter on one side.
Hand position is critical; more so than people realize. Make sure the finger or the practice tip is secure and won’t move when you are moving the file. Use light pressure, and keep the hand relaxed. If you press too hard, the file will dig into the nail edge and take too much off at once. This is especially easy to do on the “easier” side for your dominant hand. Gentle strokes allow you to stop sooner to see the shape, avoiding too much removal.
Get used to looking at the nail in three positions while you work: overhead, front and side. Look overhead first to get a view of the nail plate and where the sidewalls are going. Look front-on and compare the left and right sides of the free edge, and turn the finger slightly under the lamp to see if either side is sloping more than the other. These quick checks will let you see the imbalance right away, rather than having to fix a nail that’s already too narrow or too short.
When the nail is uneven because you have already taken off more length on one side than on the other, don’t try to fix this by filing off more on the other side quickly. You will likely just make the nail smaller and still not even. Instead, reduce the longer side very slowly, keeping the file angle similar to the shape you are trying to achieve. If you are working on practice tips, consider placing a tiny dot in the middle of the free edge for a centerline reference. This helps you realize that both sides should aim toward the center point, not the direction you tend to pull your file.
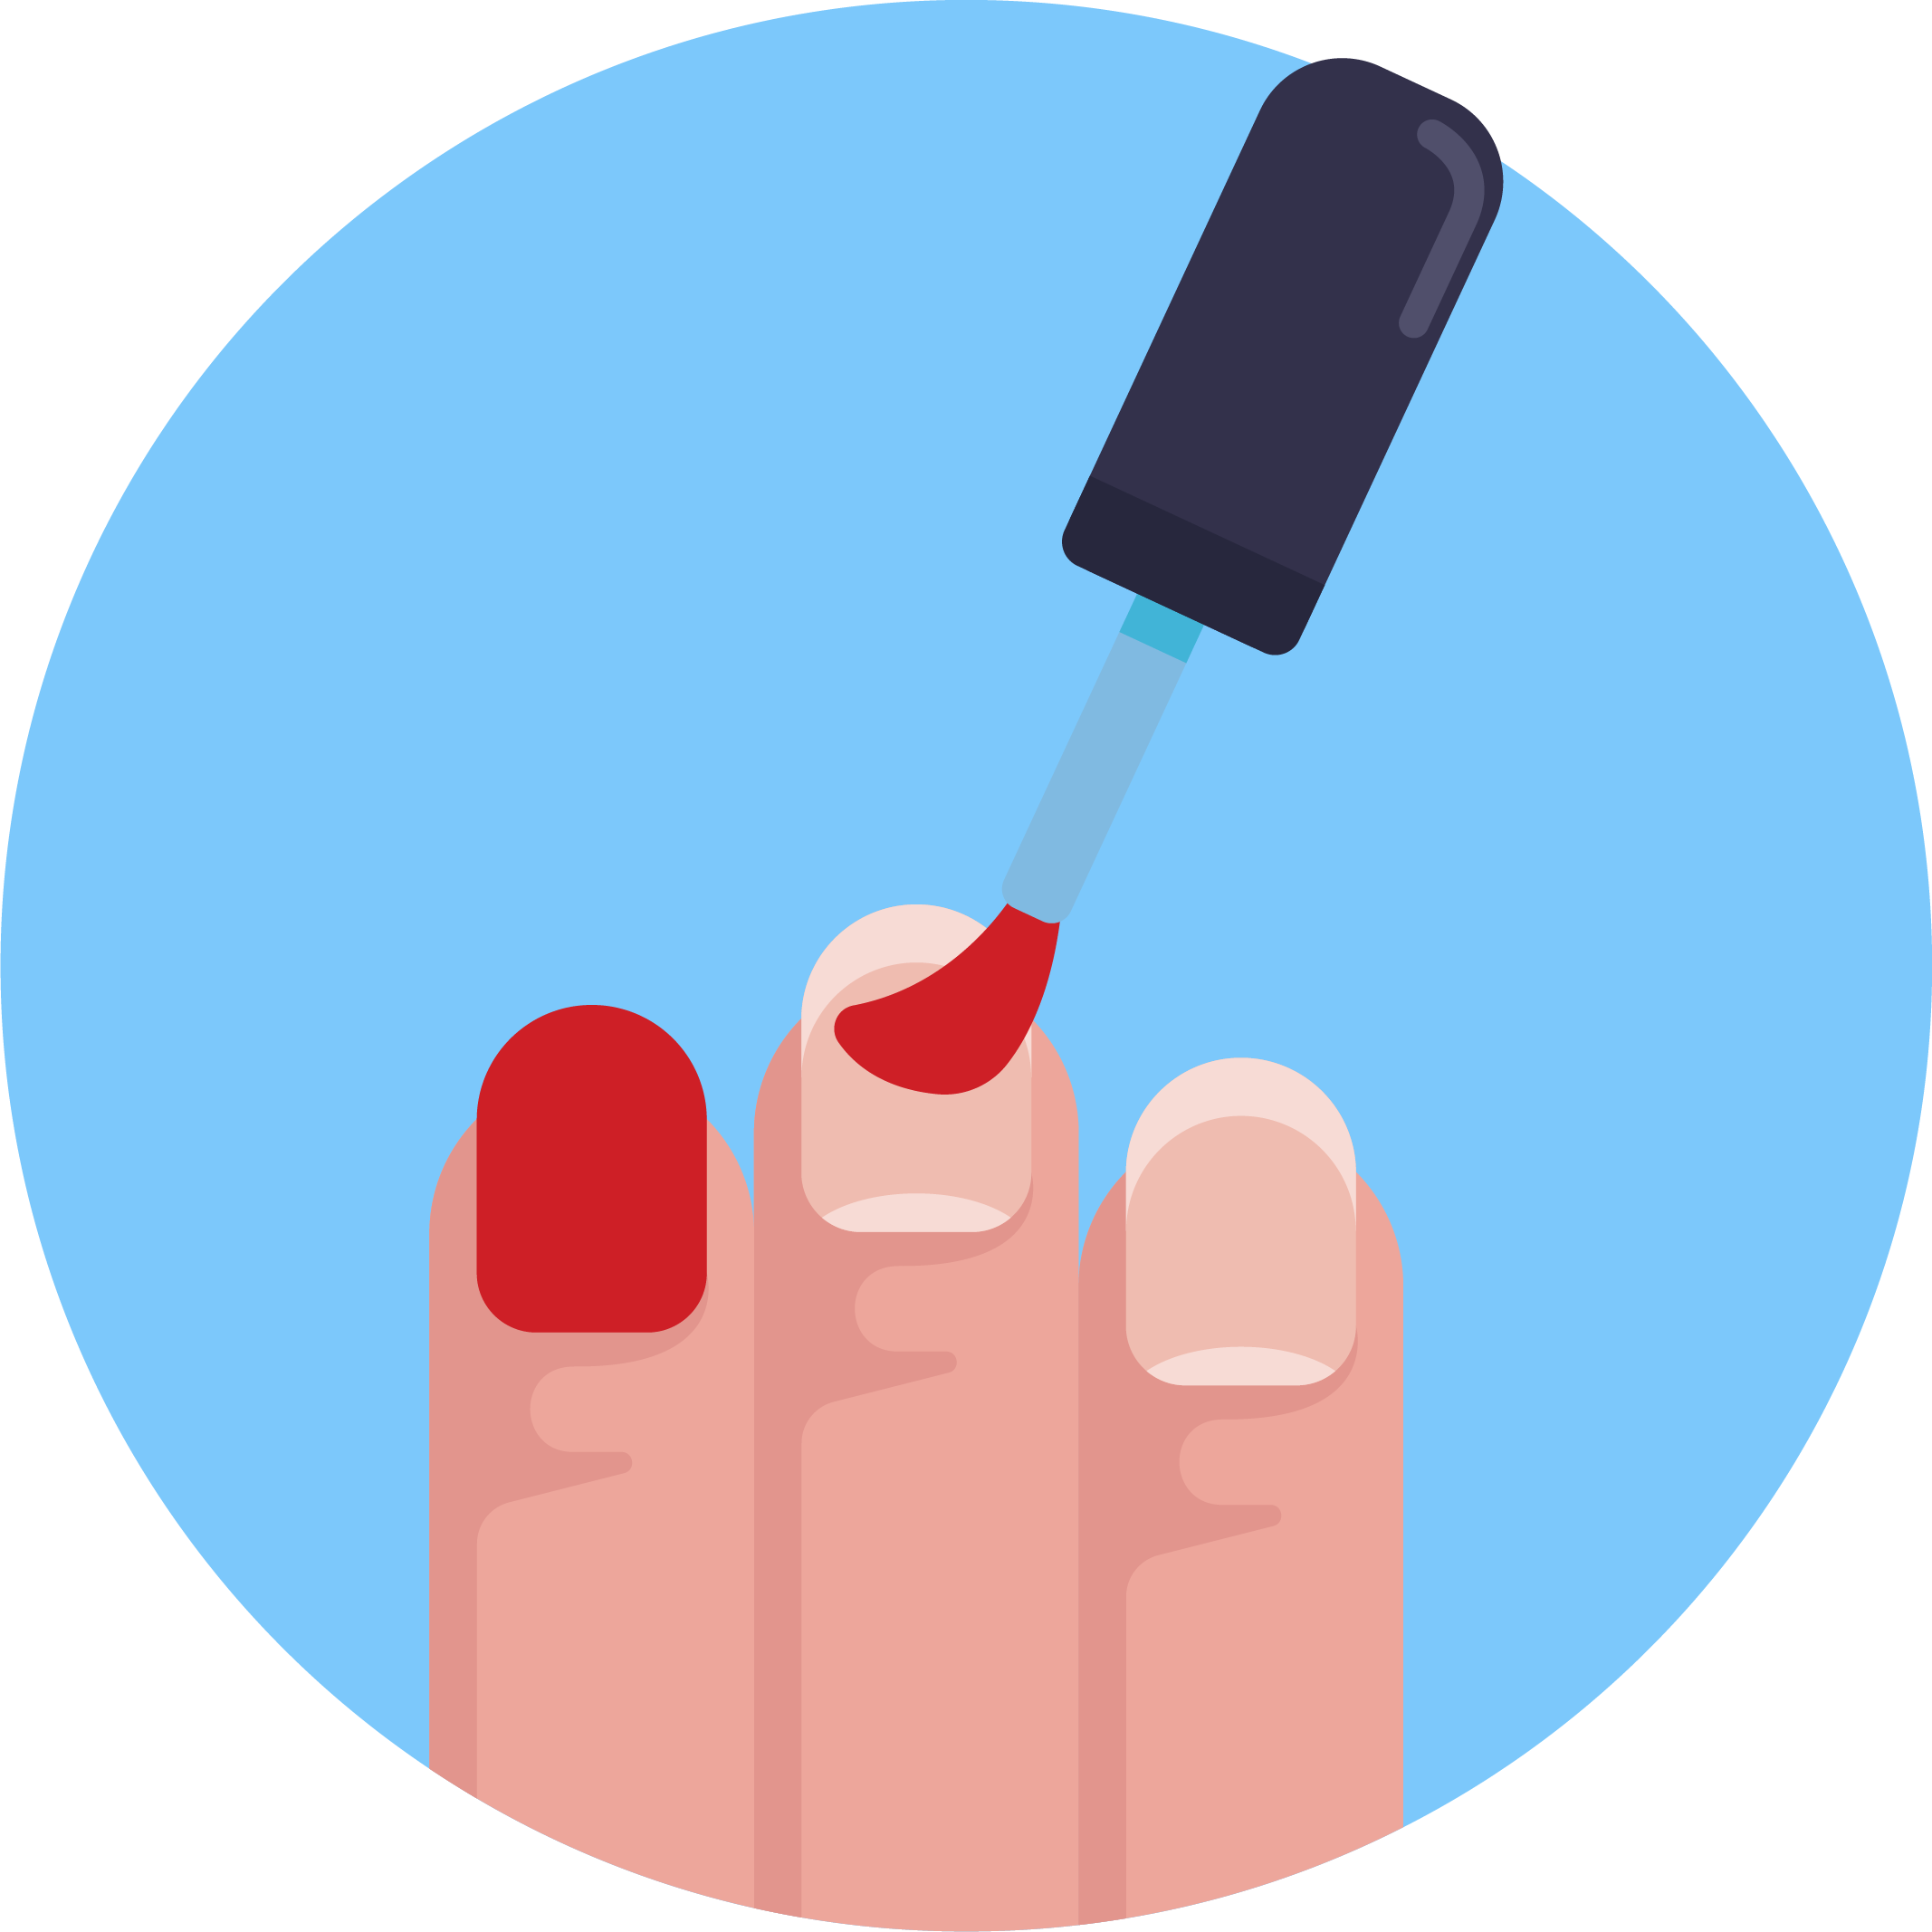
Dust is another thing that will mask what you are actually shaping. After a few strokes, be sure to brush off any loose dust, or wipe it away if needed. A dusty nail edge will look more even or longer than it really is. Clear, dust-free viewing will allow you to check side-lines, corners, and the free edge without having to guess. This is also a good idea for next steps, since a properly shaped nail makes for easier and smoother prep work, such as buffing, base coat application, or applying nail polish.
It’s not all or nothing; if your nails aren’t exactly the same, don’t let that bother you too much. You should be noticing problems earlier, and using lighter pressure; you should need fewer emergency corrections. When your practice is going to fast, slow it down, rather than rushing when the free edge is getting shorter. At the end of a session, check two or three practice nails. Ask yourself this one simple question: Did I file the nail shape or did the nail shape file me?